
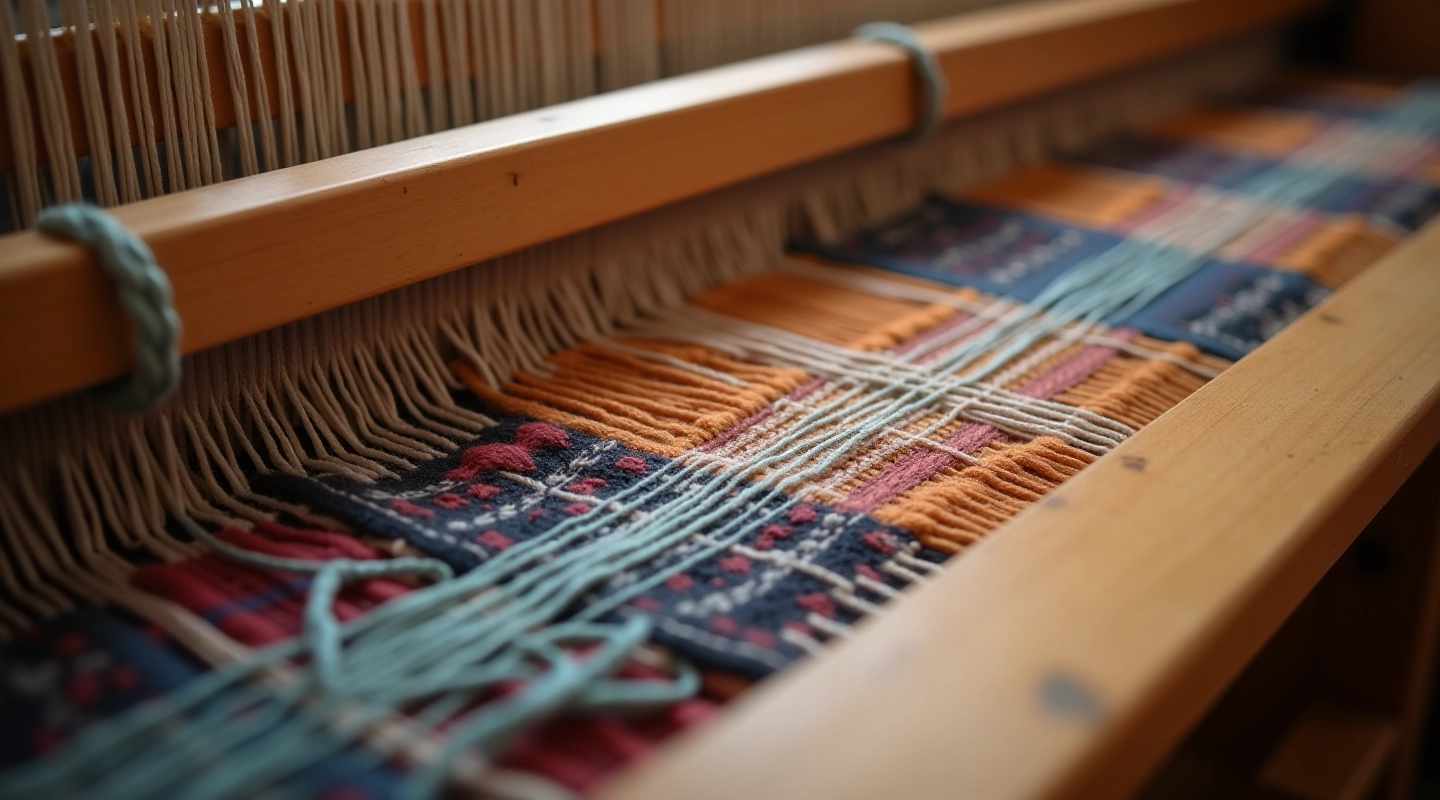
Understanding Your Belt Loom Setup
A practical walkthrough of loom parts, thread tension, and getting your first warp ready.
Read GuideThe three fundamental hand movements you'll repeat. Most beginners get comfortable with these in the first week of regular practice.
Author
Editorial Team
Written by the Kuldīga Weaving Editorial Team, focused on clear, practical guidance for beginner loom weavers.
When you first sit down at a belt loom, everything feels unfamiliar. The threads, the tension, the rhythm of the motions. But here's the good news — you're not learning a dozen different techniques. You're really learning three core movements that you'll repeat, combine, and refine over time.
These three motions are the foundation. Master them and you'll find yourself weaving patterns you didn't think were possible just weeks earlier. The movements aren't complicated. They're actually quite intuitive once you understand what's happening with the threads.
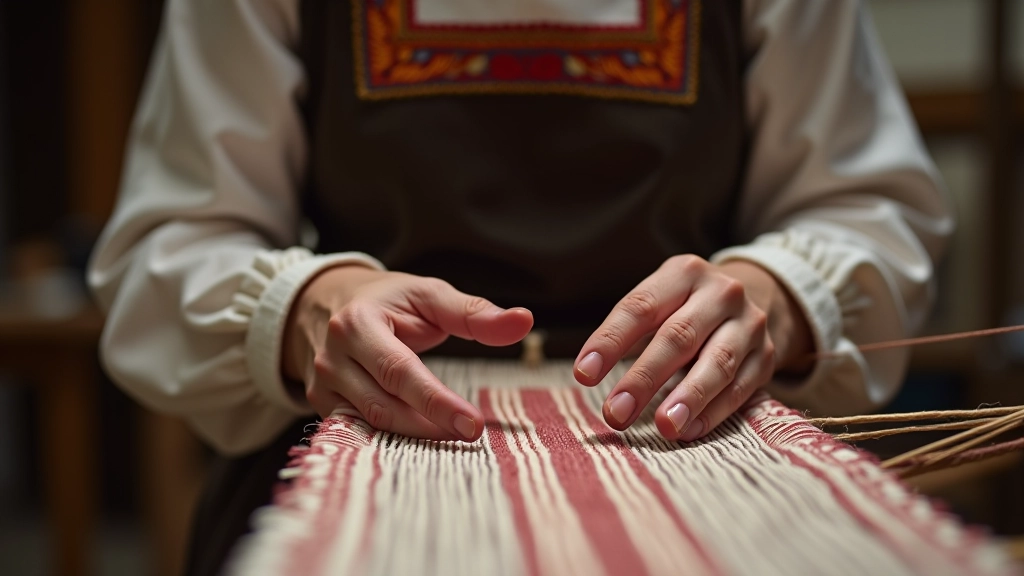
This is where it all starts. Before you can weave anything, you need to create space between your threads. That's the tension release — you're literally relaxing the tension you've built into your warp to open up the shed (the space where the weft thread travels through).
How do you do it? You'll press down with your hands on the upper threads while lifting slightly with your feet on the treadle. The motion is smooth and deliberate, not jerky. Think of it like opening a book gently — you're creating an opening, not forcing one.
Most beginners get this wrong at first by rushing it. They press too hard or don't coordinate their hand and foot movements. The key is that your hands and feet work together. When your foot presses, your hands follow — it's one continuous motion, not two separate actions.
You'll do this for roughly 2-3 seconds per motion. The timing matters because you need enough time for the threads to fully separate before you pass the shuttle through.
Disclaimer: This guide is educational and provides practical information about basic weaving techniques. Individual results depend on practice frequency, hand coordination, and personal learning pace. Everyone learns at their own speed — what takes one person three weeks might take another person six. This is completely normal and doesn't mean you're doing anything wrong.
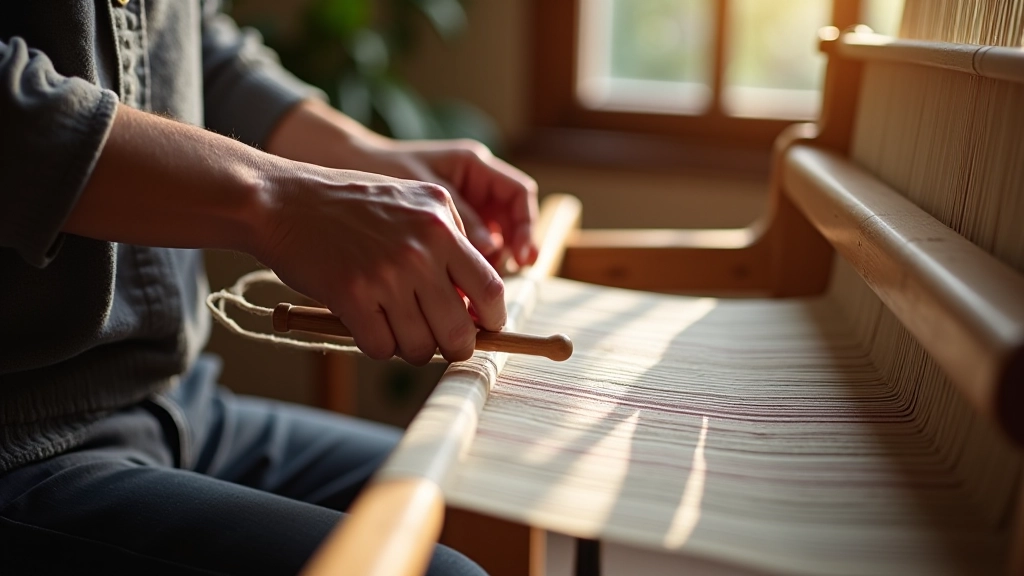
Once you've created that opening, the shuttle pass is next. This is where your weft thread actually travels through the warp. It's the motion that builds your weave, row by row.
You'll hold the shuttle loosely — and this is important, don't grip it too tightly. A loose grip lets the shuttle glide smoothly. You pass it through the shed from left to right, then on the next pass, right to left. The motion should be smooth and confident. Hesitation creates tension problems.
The shuttle pass happens quickly, maybe 1-2 seconds. Speed isn't the goal, but smoothness is. You want to pass the shuttle through without jerking or stopping midway. If you stop mid-pass, you'll create slack in your thread, and that shows up as loose spots in your weave.
One detail people often miss: the shuttle should pass through completely. Don't leave it hanging halfway. Pull it all the way through so the thread fully settles into place.
The beat is the final motion in your three-motion sequence. After the shuttle passes through, you need to lock that row in place. That's what the beat does — it pushes your weft thread firmly against the previous row, securing it into your weave.
You'll press the batten (the wooden frame that holds your reed) toward you in one smooth motion. This compresses the threads and creates a tight, even weave. The pressure should be firm but not aggressive. You're compressing, not hammering.
The beat takes about 1 second. When you do it right, you'll hear and feel a satisfying compression. The weft thread moves into place and settles against the row below. This is where your weave actually comes together.
Beginners often make the beat too gentle or too hard. Too gentle and your weave stays loose and uneven. Too hard and you create stress on your threads. You're looking for that middle ground — a firm, confident press that seats the thread without violence.
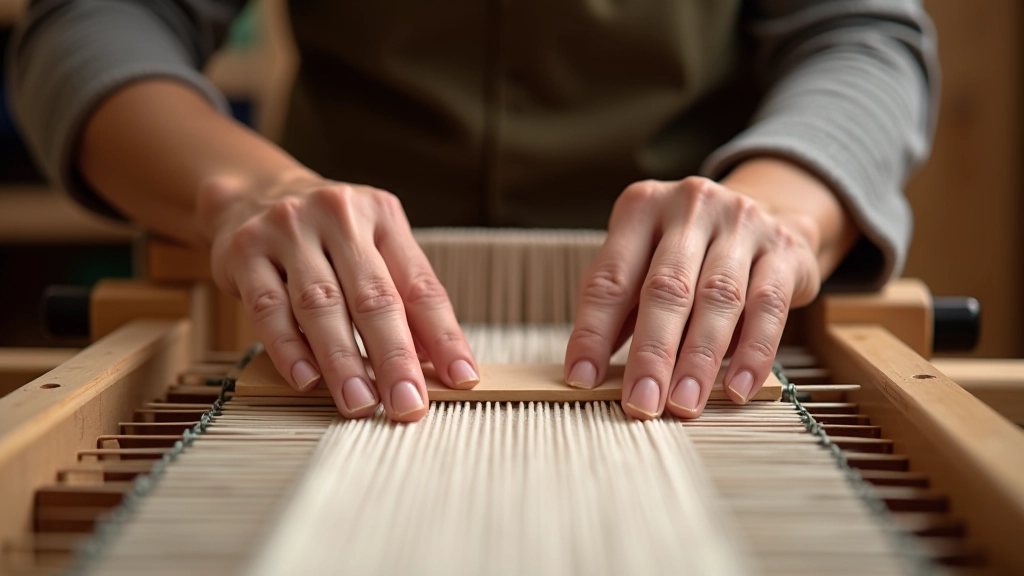
These three motions — tension release, shuttle pass, beat — happen in sequence, over and over. When you're starting out, each motion feels separate and deliberate. You think about each one. But after a few weeks of regular practice, they flow together into a single rhythm.
That's actually the moment when weaving shifts from feeling difficult to feeling natural. You stop thinking about the individual motions and you just weave. Your hands and feet know what to do without conscious direction.
Most beginners reach this point somewhere between week two and week four, depending on how often they practice. If you're weaving 3 times per week for 60-90 minutes, you'll likely get there faster than someone practicing once a week. It's not that once-a-week weavers can't learn — they absolutely can — but consistency matters for building muscle memory.
The rhythm isn't the same for everyone either. You'll develop your own pace based on your comfort level and the patterns you're working with. A simple stripe pattern might have a faster rhythm than a complex multi-color design. That's fine. Adjust your speed to match your pattern and your confidence level.

It's easy to think of these three motions as just mechanical steps. But you're actually learning something deeper — you're learning how threads interact, how tension works, and how to control the structure you're creating.
When the tension release doesn't work right, you'll see the problem immediately — your shed won't open properly. When your shuttle pass isn't smooth, your thread will have slack spots. When your beat is off, your weave will look uneven or loose. Every mistake teaches you something about how the loom actually works.
That's why practice matters so much. Each row you weave reinforces these lessons. You're not just repeating motions — you're building understanding through your hands.
The three motions are simple, but they're also powerful. They're the foundation for everything else in weaving. Once you've mastered them, you can apply them to different looms, different thread types, and different patterns. The core motions stay the same. Only the details change.
Your first few sessions at the loom might feel awkward. That's completely normal. You're learning new muscle patterns and your hands are doing things they've never done before. Give yourself grace in those early days.
Focus on smooth, deliberate motions rather than speed. Slow, controlled movements help you build proper technique. Speed will come naturally once your hands understand what they're doing.
And remember — every weaver you see who makes it look effortless started exactly where you are now. They learned these three motions one at a time, made mistakes, adjusted, and practiced. That's the path, and you're on it. Stick with it, and you'll be surprised how quickly these motions become second nature.
Explore more guides to deepen your weaving skills
A practical walkthrough of loom parts, thread tension, and getting your first warp ready.
Read Guide
How to decode the symbols and understand classic Kuldīga patterns. Includes five common patterns to get started.
Read Guide
Loose threads, uneven tension, and dropped stitches. Here's what actually causes them and how to fix them.
Read Guide