
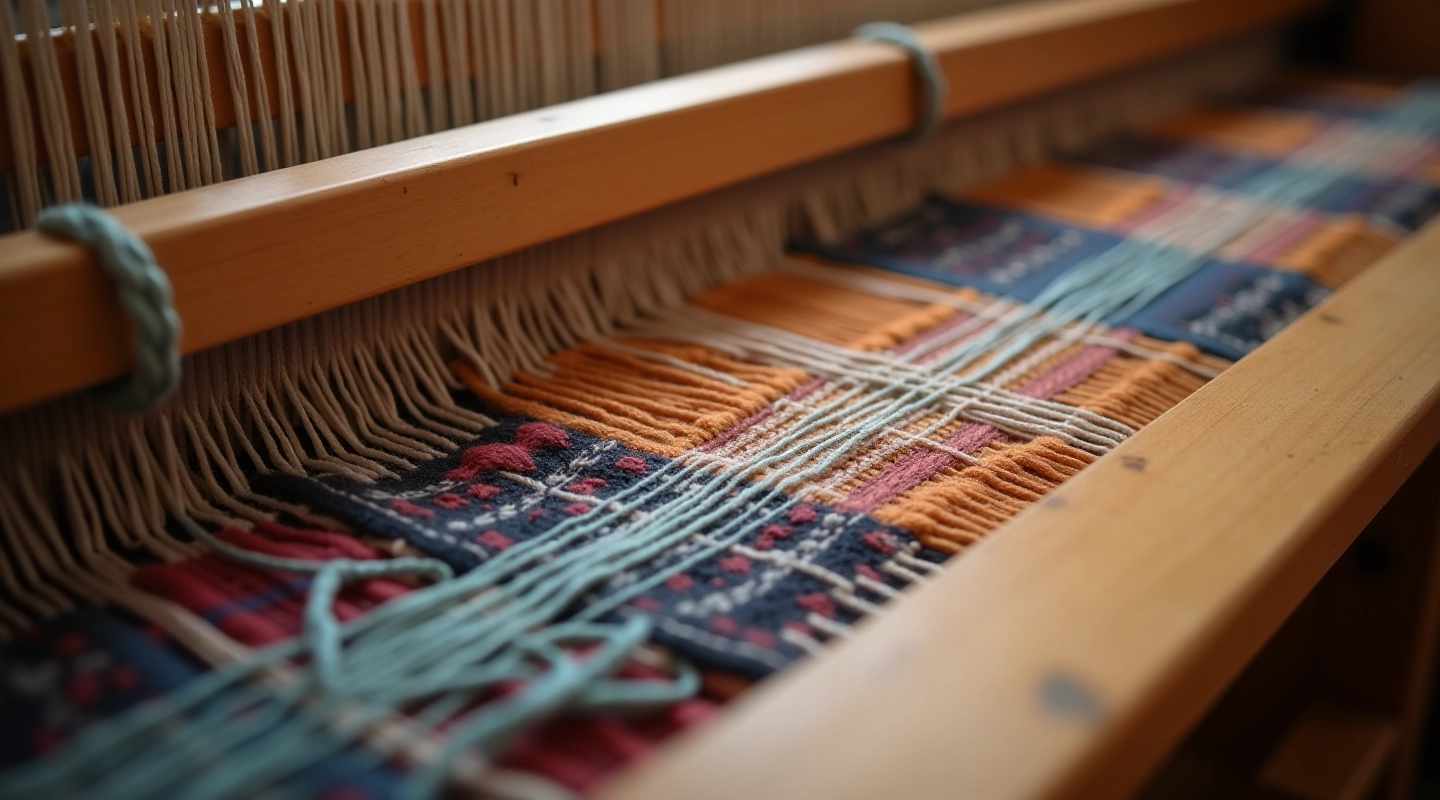
Understanding Your Belt Loom Setup
A practical walkthrough of loom parts, thread tension, and getting your first warp ready to weave.
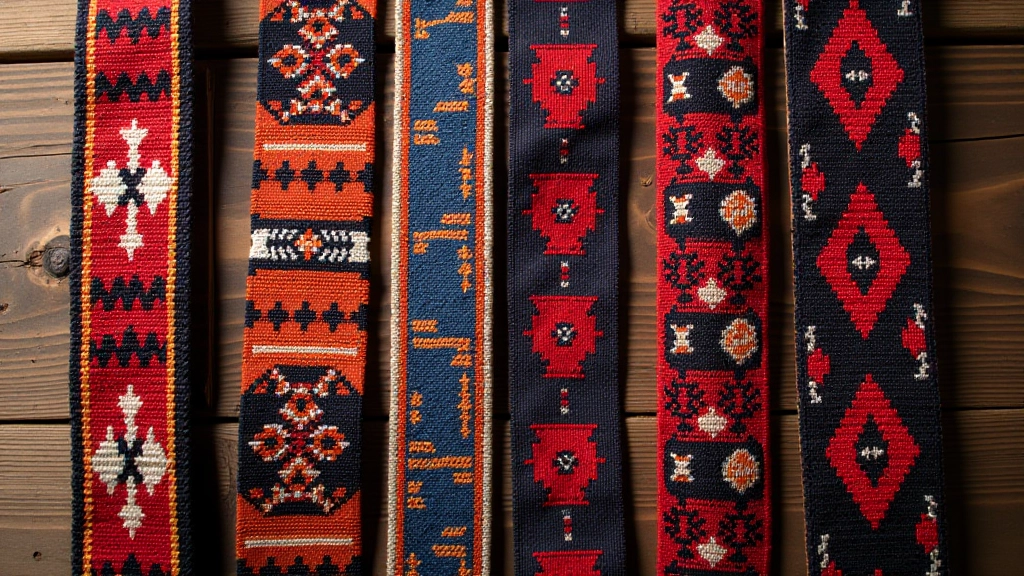
Read GuideHow to decode the symbols and understand classic Kuldīga patterns. Includes five simple designs perfect for first projects.
Author
Editorial Team
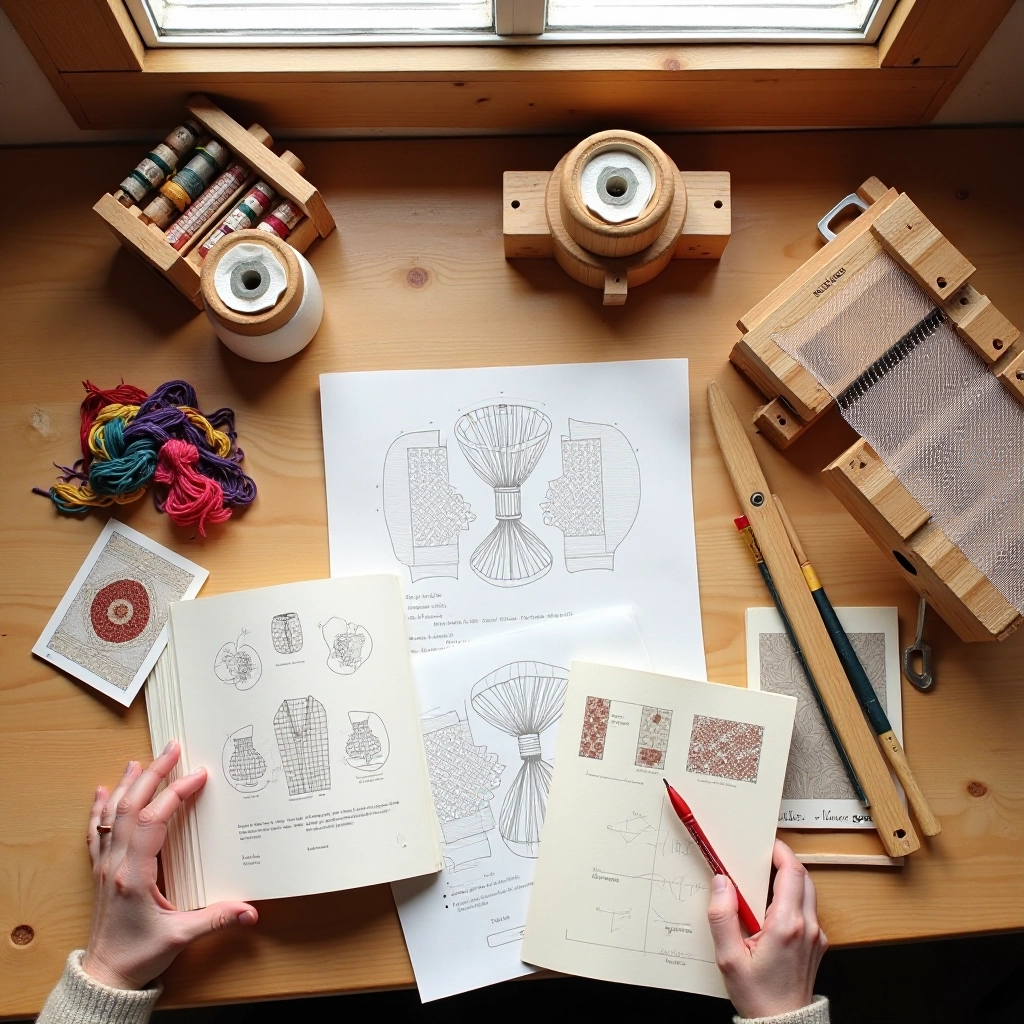
Written by the Kuldīga Weaving Editorial Team, focused on clear, practical guidance for beginner loom weavers.
Pattern charts look intimidating at first. But here's the thing — they're just a visual map of what goes where on your loom. Each square represents one thread crossing, and the symbols tell you whether to lift or lower.
Traditional Kuldīga patterns follow rules that've been used for generations. The good news? Once you understand the basic symbols, you can read any chart. You don't need to memorize them. You need to recognize what each one means.
Most charts use simple symbols — X's, dots, dashes, maybe a few variations. The pattern repeats horizontally and vertically, which makes it manageable. You're not decoding something random. You're following a logic that's been perfected over centuries.


The most common symbols are straightforward. An X usually means "lift the thread." A dot means "lower." Some charts use straight lines for neutral positions. The key is checking the legend at the top of your chart — it'll tell you exactly what each symbol means.
Most Kuldīga patterns use three or four core symbols. You're not learning ten different notations. It's more like learning three hand movements in weaving — once you've got them, you've got them.
Colors matter too. Charts often use different colors to show which thread group does what. Red might mean one thread set, blue another. This visual separation makes patterns way less confusing than if everything was printed in black.
This guide provides educational information about reading traditional Kuldīga weaving patterns. Actual results depend on your practice time, thread quality, and individual learning pace. Every weaver develops at their own speed — what takes one person three weeks might take another person six weeks. That's completely normal.
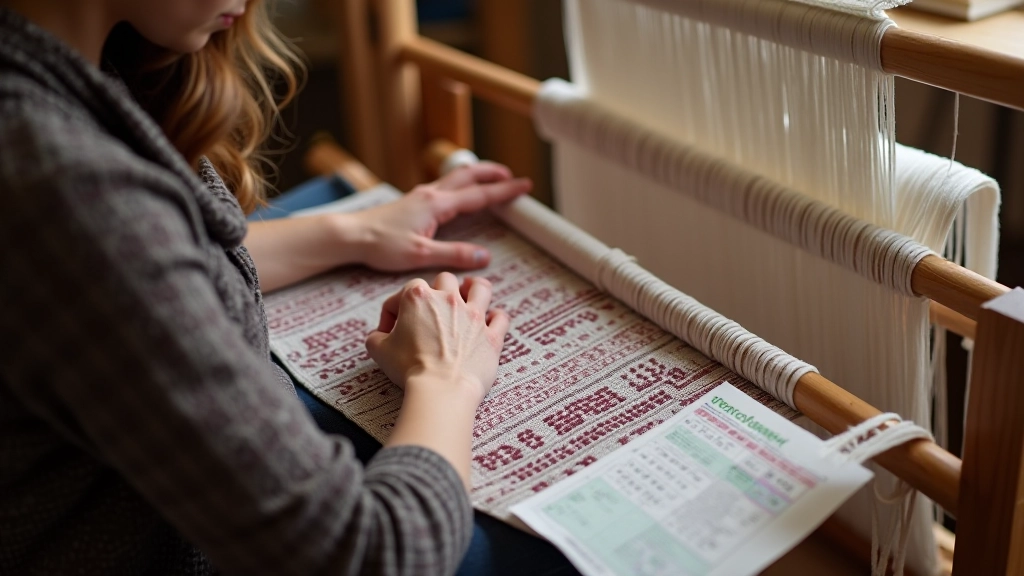
Here's where people get confused. Charts read left to right, just like English text. But the rows go from bottom to top on your loom. Your first pass starts at the bottom of the pattern.
Some weavers print their charts and tape them next to their loom. Others keep them propped on a stand where they can glance over. Whatever works for you is fine. The important part is seeing the whole pattern so you don't lose your place mid-row.
Pro tip: Use a ruler or piece of cardboard to mark which row you're on. Slide it up as you complete each pass. Sounds simple, but it saves you from having to count every time and figuring out where you left off.
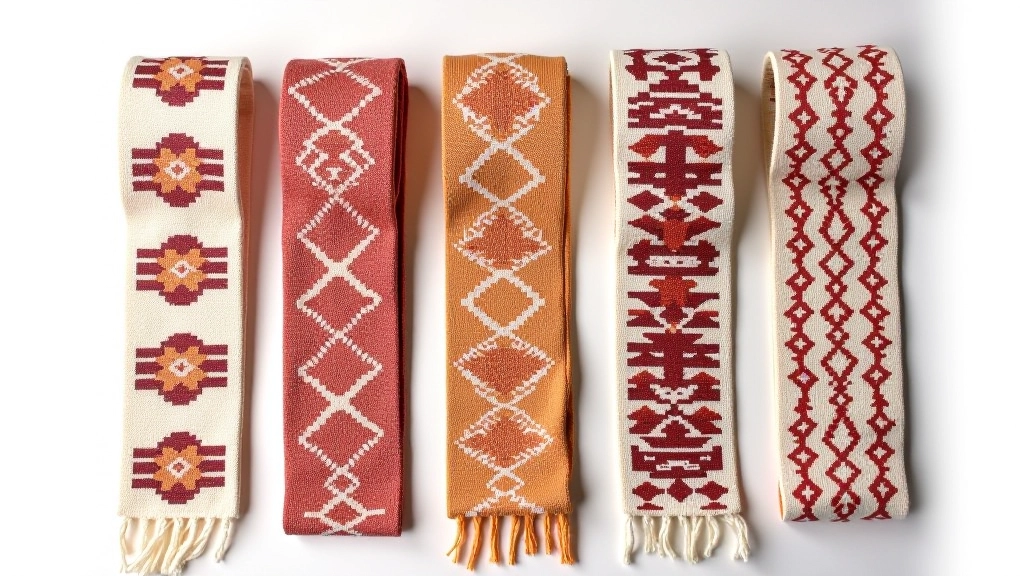
Start with the simplest patterns. The "diagonal stripe" uses just two symbols and repeats every four rows. You'll see your pattern forming really quickly, which keeps motivation high.
The "checkerboard" is slightly more complex but still manageable. It alternates between two thread groups in a predictable rhythm. Once you understand the rhythm, your hands do the work automatically.
The "simple cross" pattern appears in many traditional Kuldīga designs. It uses three symbols and creates a neat geometric look. The satisfaction of watching it come together is real.
The "wave pattern" adds a bit more visual interest. It's still only four symbols, but the flow makes it feel more sophisticated than the simpler designs.
The "spiral" is the most complex of the five, but it's still totally doable for beginners. It requires concentration but teaches you rhythm and consistency in a way the simpler patterns don't.
Losing your place is frustrating. It happens to everyone, even experienced weavers. The difference is they know how to get back on track without starting over.
Mark each completed row as you finish it. This takes five seconds and saves you ten minutes of confusion later. You can use a highlighter, a pen mark, or even a clothespin clipped to the chart.
Count your passes. Most patterns repeat after a specific number of passes — usually between 4 and 12. Know your pattern's repeat count before you start. When you know you're on pass 7 of an 8-pass repeat, you know exactly where you are.
If you do lose your place mid-row, don't panic. Stop, look at the pattern on your loom, and match it to the chart. You'll figure it out. It might take a minute, but you won't have to unravel everything.

Reading pattern charts isn't a mystery once you've done it a few times. The first pattern feels foreign. The second pattern clicks faster. By the third or fourth pattern, you're not really thinking about the chart anymore — your hands just know what to do.
Pick one of the five beginner patterns above. Print the chart. Get it set up next to your loom. Take it one row at a time. You'll have your first completed patterned belt in a few hours of actual weaving time.
That feeling when you finish? When you look at something you created following a centuries-old pattern? That's why people get hooked on weaving. And it starts with understanding one simple chart.
Explore related guides to build your weaving skills
A practical walkthrough of loom parts, thread tension, and getting your first warp ready to weave.
Read Guide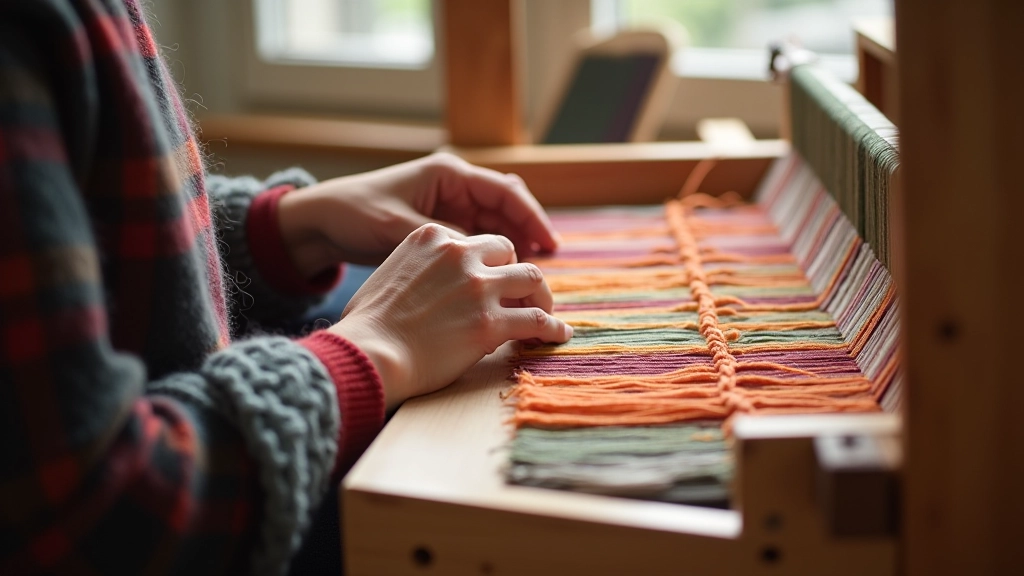
The three fundamental hand movements you'll repeat. Most beginners get comfortable with these in about two weeks.
Read Guide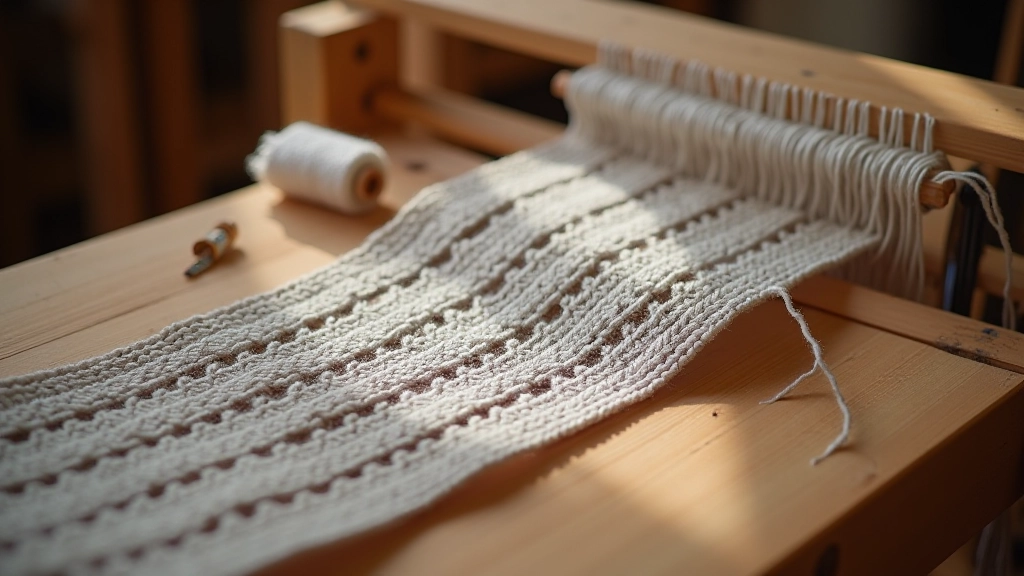
Loose threads, uneven tension, and dropped stitches. Here's what actually causes them and how to fix them.
Read Guide