The Frame: Your Loom's Foundation
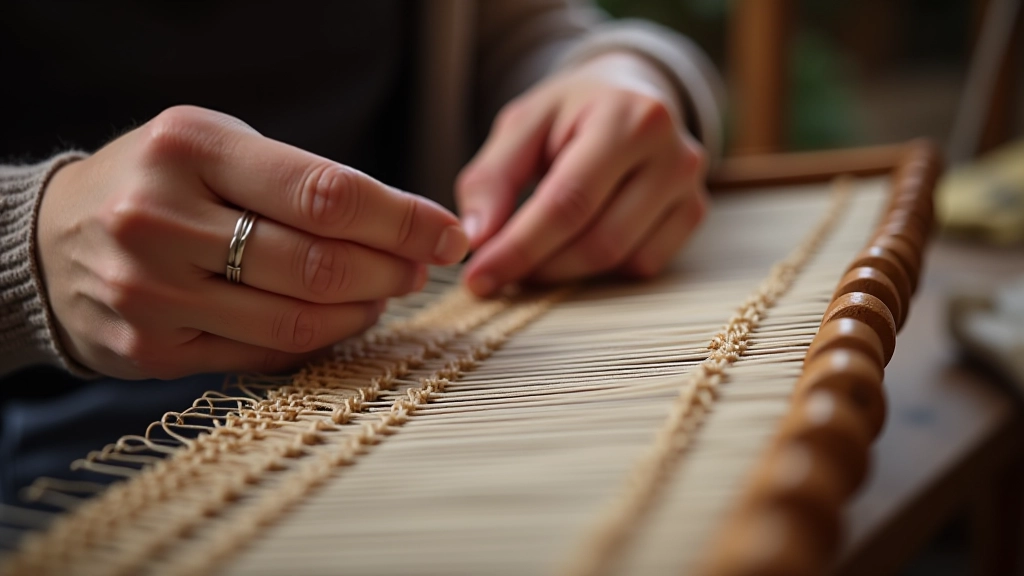
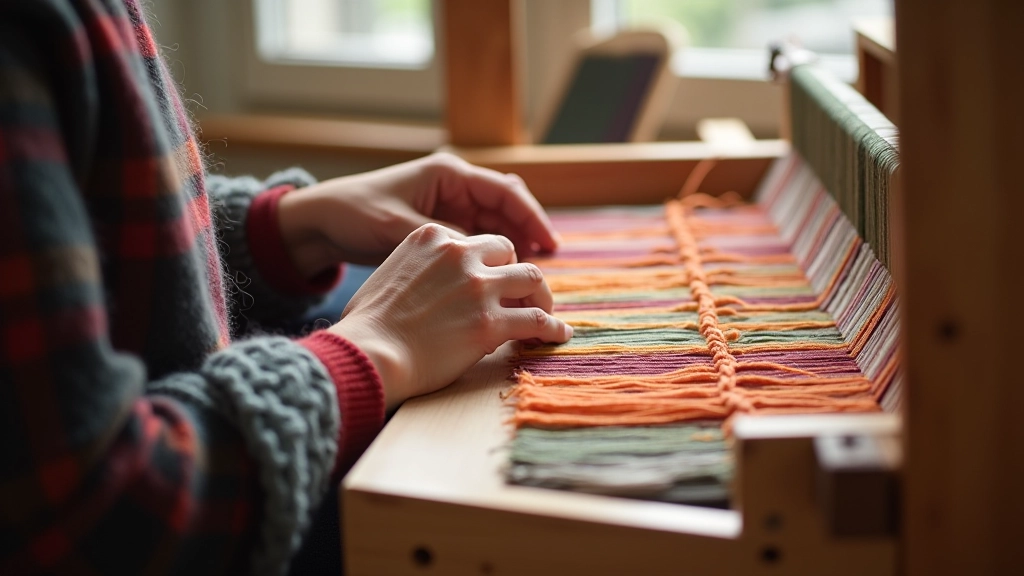
The wooden frame is everything. It's typically made from solid wood — birch, oak, or pine — and it's heavier than you'd expect. That weight matters. It keeps the loom stable while you're tensioning threads and weaving. A light, flimsy frame will shift under pressure. You don't want that.
Look at your frame. You'll see two vertical uprights and horizontal supports top and bottom. The top bar is where tension adjustments happen. Some looms have a screw mechanism here, others use notches. Either way, this is where you'll control how tight your warp threads are stretched. Tighter threads make cleaner, crisper weaves. Loose threads mean your pattern gets muddled and floats around.
The bottom support keeps everything square. Check that your loom sits flat on a table — no rocking. If it wobbles, place a thin shim under one foot. A stable foundation means you're not fighting the loom while you work.

The Heddle Bar: Lifting Your Pattern
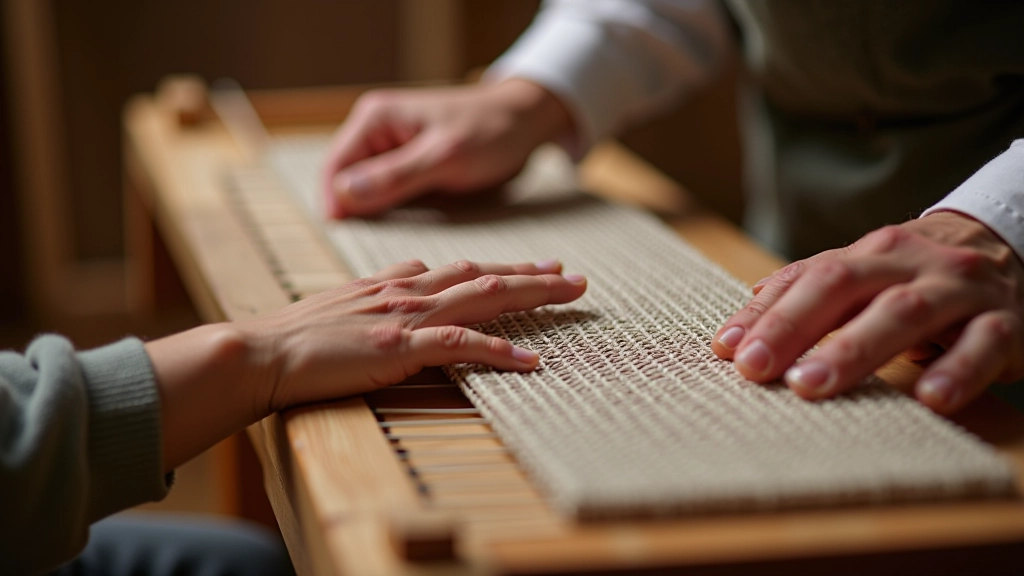
This is the part that makes patterns possible. The heddle bar — sometimes called the shed bar or pattern bar — holds pegs or holes that catch certain warp threads. When you pull the bar toward you, those threads lift. The threads underneath stay down. This creates the "shed," the opening where your weft thread (the one you're weaving across) passes through.
Most beginner looms have 16 to 32 pegs on the heddle bar. Don't worry about the exact number yet. What matters is understanding that each peg controls one thread in your pattern sequence. Pull the bar, threads lift, you pass your weft. Push it back, the shed closes, and you're ready for the next pass.
The bar itself should move smoothly. If it's sticking or grinding, you might have threads wrapped around the support dowels. We'll cover that in the threading section.
Quick tip: Before your first weaving session, spend five minutes just pulling and pushing the heddle bar with no threads attached. Get a feel for the resistance. It should be smooth, almost effortless. If it's fighting you, something's not quite right.
Warp Threads: Stretched and Ready
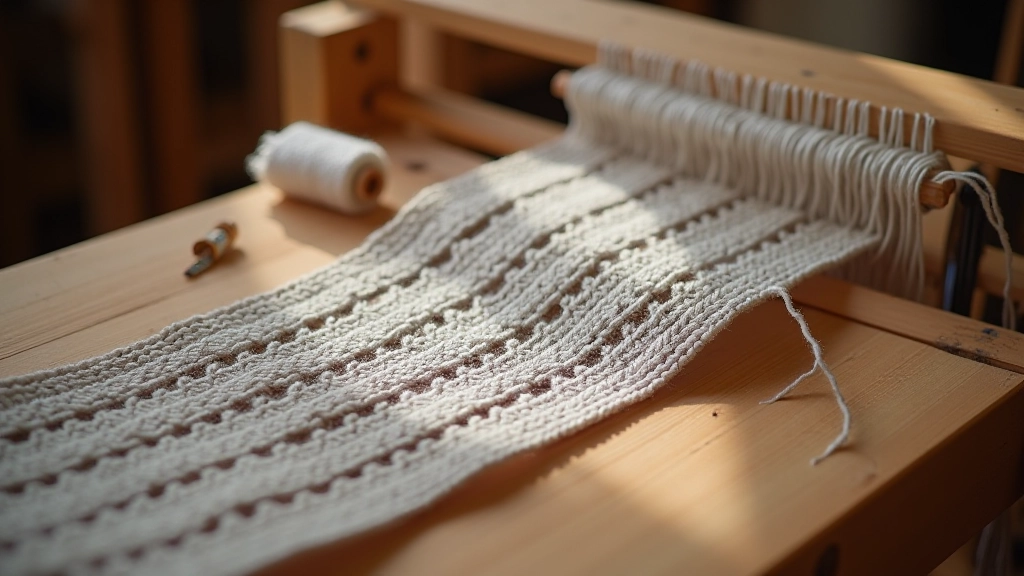
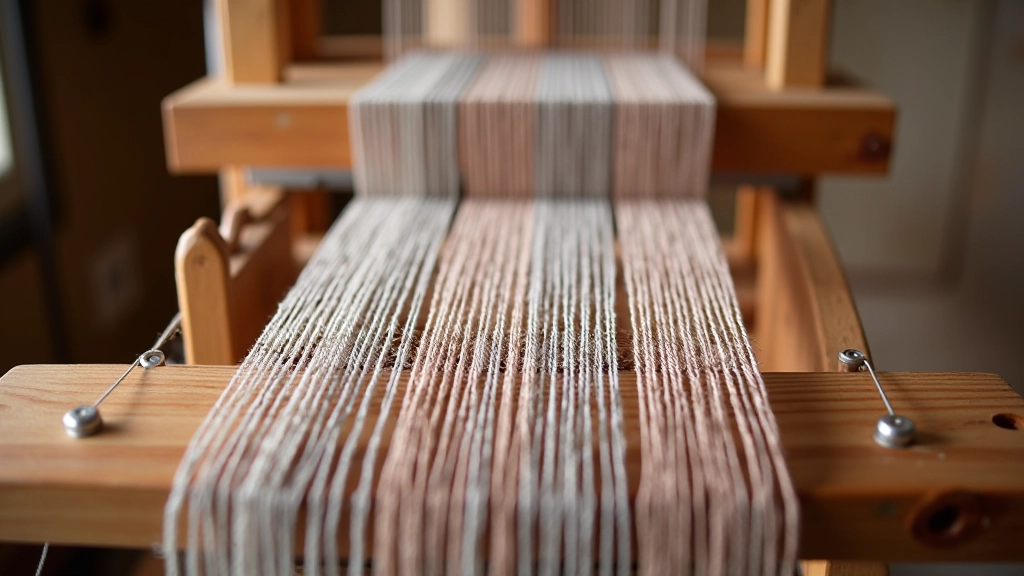
Warp threads are the vertical threads that stay put. They're what you'll weave across. Typically, you'll use 32 to 64 warp threads for a beginner project, depending on the width you want. Most first belts are 2 to 3 inches wide, which means around 40-50 threads.
Threading the warp is the part that seems complicated but isn't. You're simply tying each thread to the top bar, spacing them evenly, then tying them to the bottom bar and tensioning. The spacing matters. If threads are bunched together, your weave gets lumpy. If they're too far apart, you get gaps in your pattern.
Here's what actually happens: you'll loop each warp thread around the top tension bar (usually in notches or between pegs), then bring it down through the heddle bar's holes, and loop it around the bottom bar. Once all threads are in place, you adjust the top bar to create tension. Tight enough that the threads don't sag, but not so tight that they'll snap or pull the frame out of square.
Getting Tension Right
Tension is the thing beginners overthink. It's actually straightforward. Your warp threads should be tight enough that when you pluck one, it hums slightly — not a loud vibration, but a gentle musical note. That's your signal that tension is about right.
Too loose: threads droop, your weave sags, patterns look blurry. Too tight: you're fighting the loom, threads might snap, and the frame can actually flex out of shape. You're looking for that middle ground. Most looms have a tension screw at the top. Start snug, then add turns gradually until you get that gentle hum.
Here's something nobody mentions: tension changes as you weave. As you work, threads compress slightly. Every 20 minutes or so, give the tension screw another half-turn to compensate. It's not a big adjustment, but it keeps your weave consistent.
Threading Step by Step
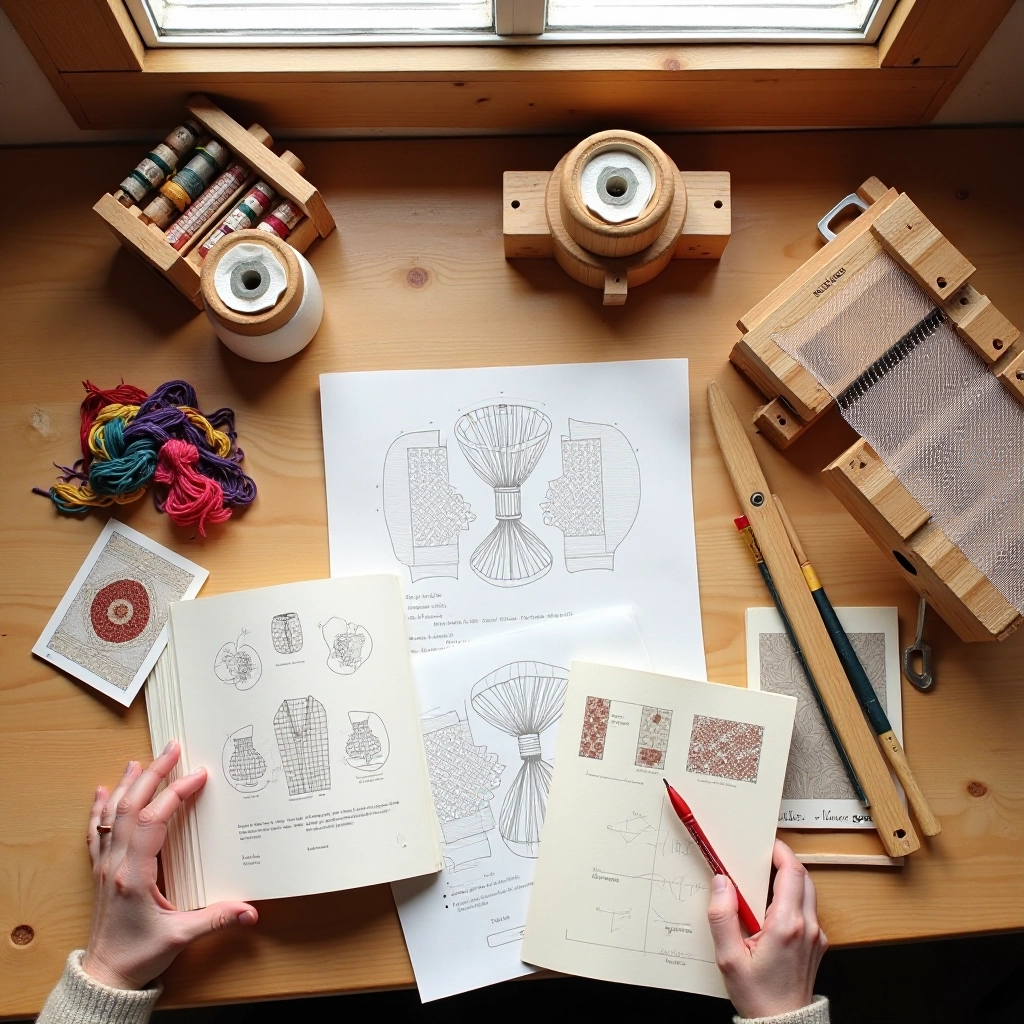
You're ready to actually thread the loom. Don't do this in a rush. Set aside 30 minutes and have your materials ready: warp yarn, scissors, and a pattern chart if you're following a traditional design.
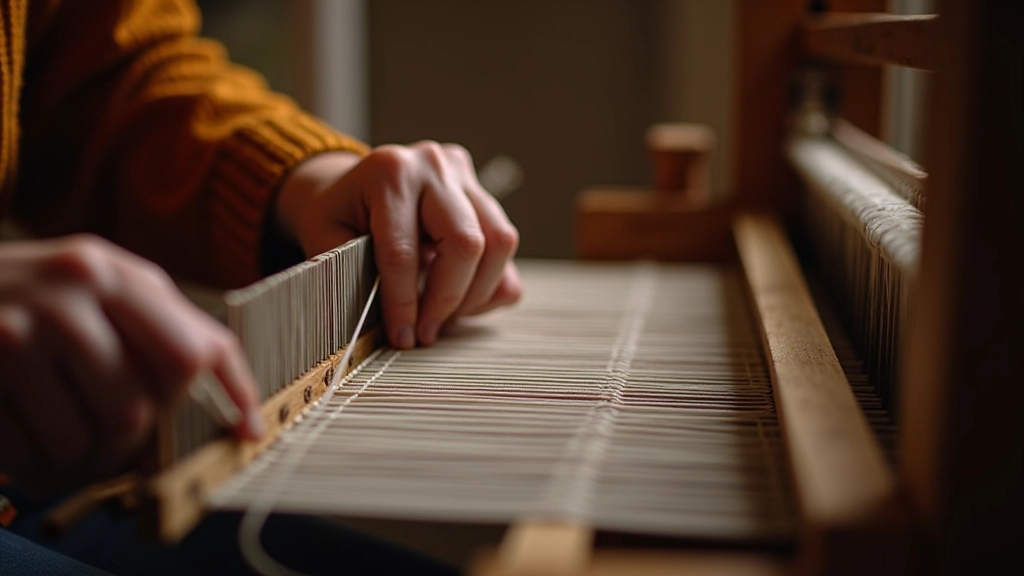
Start at the left side of the top bar. Tie your first thread securely in the notch or around the peg. Bring it straight down through the heddle bar's first hole. Then bring it down to the bottom bar and tie it off. Now move one position to the right and repeat. You're building your warp thread by thread.
After 10 threads, stop and check your spacing. Are they evenly distributed? Is there any twisting? Small corrections now save frustration later. Keep going until you've threaded all your warp threads — let's say 48 for a 3-inch-wide belt.
Once all threads are in place, adjust the tension. Start light and gradually tighten. You'll feel the threads getting more resistant. When you get that gentle hum from plucking a thread in the middle, you're there. This entire process — threading and tensioning — takes about 25-30 minutes for a beginner.